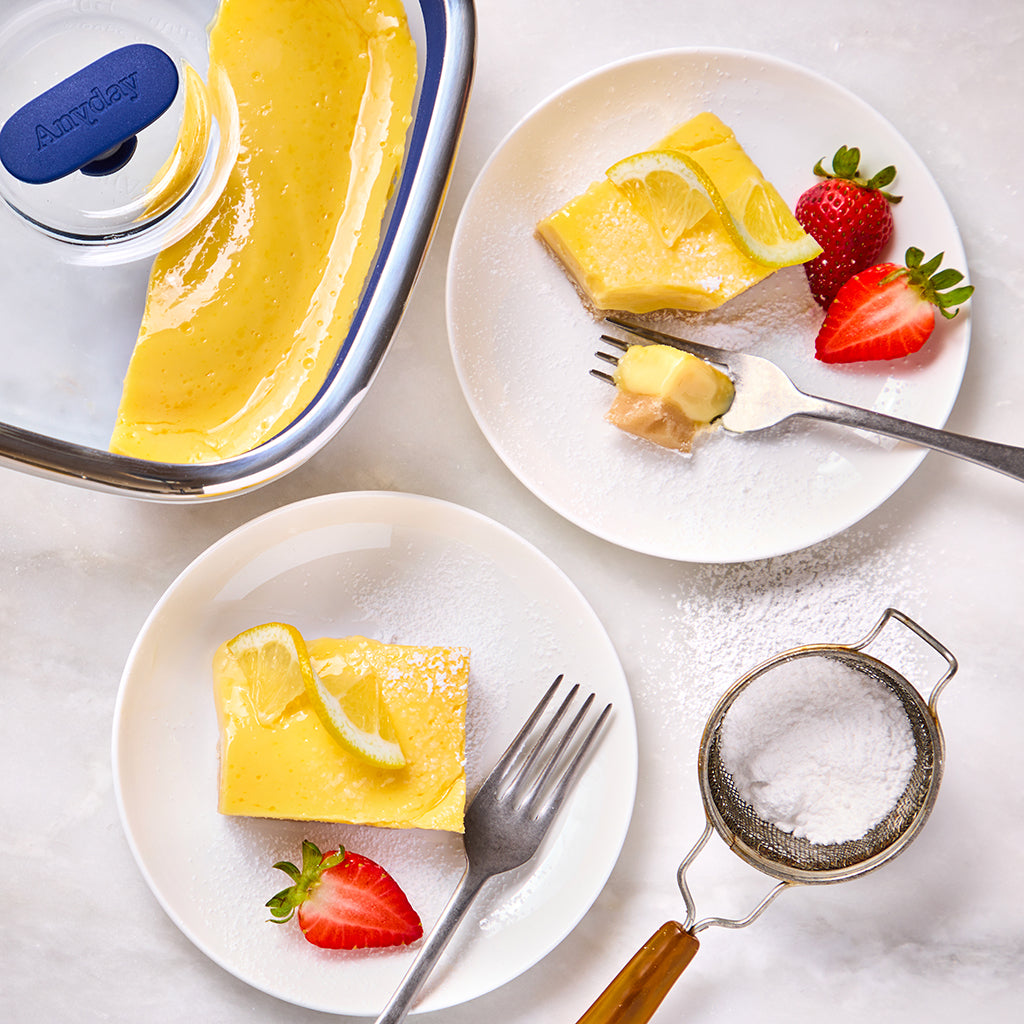
Easy Lemon Bars

Select your serving size and microwave wattage in the dropdown. The recipe will change accordingly.

1-2
  • 1-2
  • 2-4
  • 4-6

Select your microwave wattage in the dropdown. The cook times in this recipe will automatically change accordingly.

[[video-wattage]]

To find your microwave’s wattage, look at the front panel, the side of the door, in the back, in the user manual, or Google the model number. If both an input and output wattage are listed, use the output.

Wattage translates to how powerful the microwave is. The higher the wattage, the faster your food will cook. The lower the wattage, the longer the cook time.

When in doubt, start with less time — you can always add more.

Microwave oven by power - 700w
700w
  • 700w
  • 800w
  • 900w
  • 1000w
  • 1100w
  • 1200w

Recommended 

Dish

The Small Square Dish

Ingredients

For the crust

  • ½  cup (60g) all-purpose flour
  • 2 tablespoons granulated sugar
  • ¼ (60g) cup unsalted butter

For the lemon filling

  • ½ cup (115g) sweetened condensed milk
  • 2 tablespoons cornstarch
  • 2 large egg yolks
  • ½ cup (120ml) lemon juice
  • 1 tablespoon lemon zest
  • teaspoon kosher salt

Preparation

  1. Line a Square dish with parchment paper, making it fits snugly, and set aside.
  2. Prepare the crust: Mix the melted butter, flour and sugar until it forms a sticky dough, similar to soft cookie dough. Press the dough evenly on top of the parchment paper lining to create the crust.
  3. Cook the crust uncovered in the microwave for 2-3 minutes until the surface looks matte and firm. Allow to cool completely.
  4. Make the filling: Whisk the condensed milk, egg yolks, lemon juice, lemon zest, and salt together until smooth. Pour the mixture over the cooled crust.
  5. Cook in the microwave uncovered at Power Level 5

    Certain foods cook best in the microwave at lower power levels. 

    [[video-power]]

    Different microwaves have different settings. See your microwave manual (or look it up online) to learn how to change your microwave’s power level.

    For many microwaves: enter the cook time, press the “Power” (or “Power Level”) button, and select a number between 1-10. Other microwaves may require selecting the Power Level first, and then entering the cook time.

    Microwaves list power levels in different ways. Here’s a guide to help you adjust:

    PL 10 = 100% = High (default)

    PL 9 = 90% = High

    PL 8 = 80% = Med-High

    PL 7 = 70% = Med-High

    PL 6 = 60% = Medium

    PL 5 = 50% = Medium

    PL 4 = 40% = Med-Low

    PL 3 = 30% = Med-Low

    PL 2 = 20% = Low

    PL 1 = 10% = Low

    You will know if the power level has been successfully changed if you hear periodic changes in the microwave’s tone after it begins cooking.

    for 5-6 minutes. The center should be shiny and slightly jiggly, with bubbles around the edges. A few cracks are okay! The filling will continue to set as it cools.
  6. Let the bars cool completely in the fridge for at least 3 hours or overnight. Once chilled, use the parchment to transfer the bars to a cutting board and cut into squares. Top with powdered sugar or whipped cream.

Suggestions

  • Grapefruit bars: Swap lemon juice for freshly squeezed grapefruit juice for a lovely pink hue.
  • Key lime bars: Use key lime juice for a refreshing twist, and top with a dollop of whipped cream.
  • White chocolate lemon bars: Stir in a handful of white chocolate chips to the filling before cooking for a sweet variation.
  • Raspberry lemon bars: Add raspberries to the filling before cooking for a burst of fresh fruit and a pop of color.
  • Discover more lemon recipes by exploring our collection here!

Recipe Notes

  • Don’t want to waste the extra egg whites? Whip them with some sugar for a quick meringue or scramble them into a breakfast omelet.
  • For perfectly square slices, use a very sharp knife and run it under hot water after every cut for clean edges.
  • The lemon filling is perfectly cooked when it turns a vibrant yellow, with some bubbles or cracks around the edges and a slightly jiggly center. If the center appears too pale or ripples when gently shaken, continue cooking for an additional 1-2 minutes at the recommended power level.
  • Microwave ovens vary, even with the same wattages. Adjust cooking times as needed.

All You Need to Know About Making Lemon Bars in the Microwave

What are lemon bars?

Lemon bars are a delightful treat with a buttery, crumbly crust and a tangy~~, creamy~~ lemon filling. Made with bright lemon juice and zest, and sweetened condensed milk for an extra-smooth texture, they're a classic dessert beloved for their perfect balance of sweetness and tartness.

Can I make lemon bars in the microwave?

Yes, you can make lemon bars in the microwave using an Anyday dish. Simply prepare the crust and filling, assemble them in the dish, and cook at a lower power level for a rich and creamy texture. Check for doneness by making sure the edges are set and the center is slightly jiggly. Let the bars cool (covered) in the refrigerator for at least 3 hours to set properly.

Why do I need to lower the power level?

Lowering the power level guarantees an even and gentle cooking process, which helps maintain the creamy texture of the lemon filling. It also prevents the edges from cooking too quickly while the center sets.

Can I substitute ingredients in lemon bars?

Yes, you can make some substitutions. For a twist on the classic flavor, try using different citrus juices like grapefruit or lime. Orange juice also works, but is much sweeter and will result in a more sugary tart. You can also modify the type of sugar or flour used in the crust based on your preferences or dietary needs.

How do I know when lemon bars are done?

Lemon bars are done when the edges are set and the center is firm but still has a slight jiggle. The filling should not slosh around when gently shaken. Be careful not to overcook the bars to keep the filling smooth, otherwise it will appear curdled..

Can I make lemon bars ahead of time?

Absolutely! Lemon bars are perfect for making ahead. Once cooked, allow them to cool, then cover with the lid and store them in the Anyday dish in the refrigerator until you’re ready to serve. This dessert is a great option for prepping in advance for events or gatherings.

How long do lemon bars last?

Lemon bars can be stored in the refrigerator in an Anyday dish for up to 3-5 days. Just cover them with the lid to keep them fresh.

Can I freeze lemon bars?

Yes, lemon bars freeze beautifully. After cooling, cover them with the lid of the Anyday dish and freeze for up to 2 months. When ready to enjoy, simply thaw in the refrigerator before serving.
What Customers Are Saying