Old-School Taco Filling

5 reviews
4.6 5
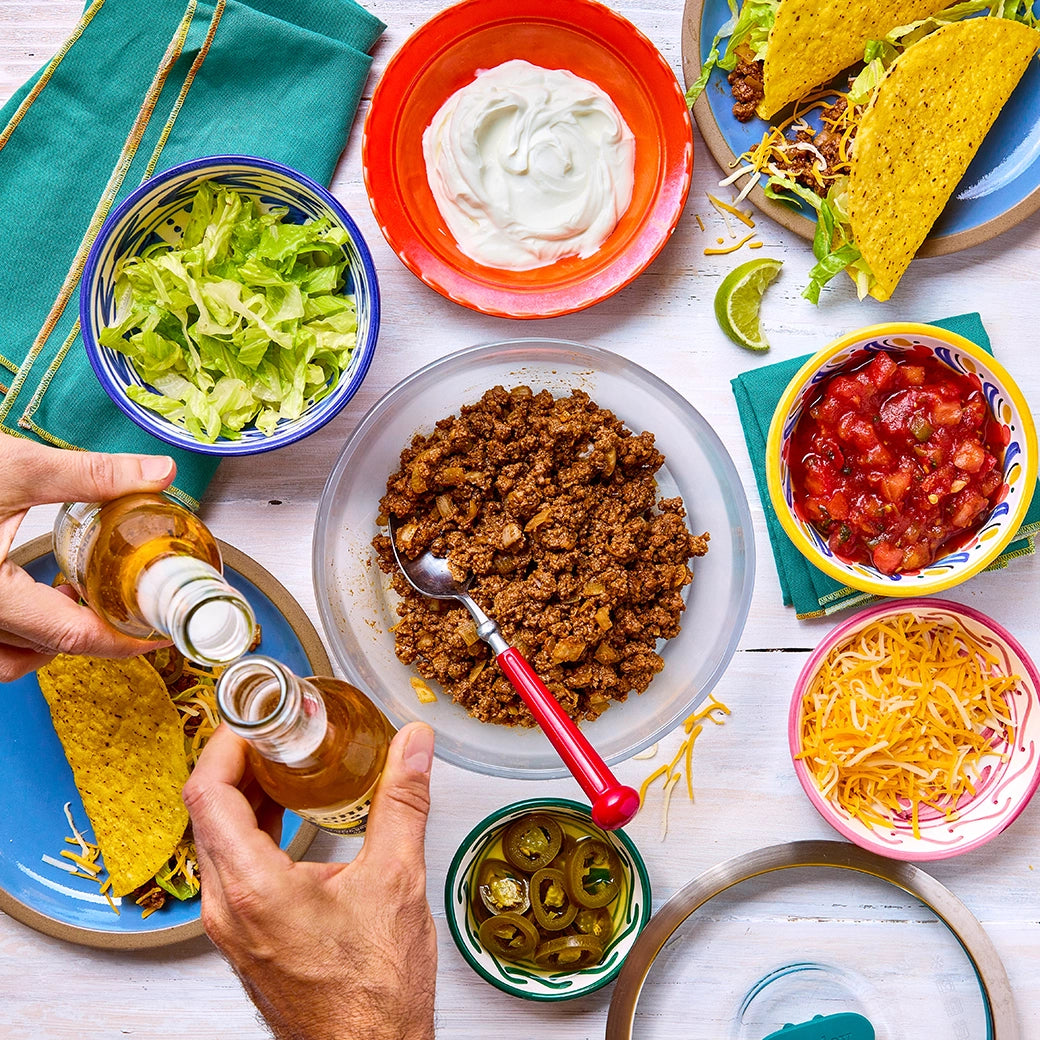
//cookanyday.com/cdn/shop/files/Anyday_Photos_Recipes_TacoFilling1_1040_2_b161c8e9-921d-442d-a1ea-6d397688913e_360x.webp?v=1722546240 Savory old-school taco filling made in the glass Anyday dish, featuring seasoned ground beef, onions, and spices. This quick and flavorful microwave recipe delivers a delicious and nostalgic taco filling, perfect for a fun and easy meal.
PT3M PT2M

Prep Time

3 mins

Cook Time

2-3 mins

Free Time

to snack on chips and salsa

Remember those simple ground beef tacos from your childhood? Relive that classic taste with this recipe for taco filling, now made easily in the microwave. This method allows you to focus on assembling toppings and toasting tortilla shells while the beef cooks to perfection. We enhance the ground beef with stock and a little bit of cornstarch, creating a velvety, lump-free texture. Use the meat to fill your choice of crispy shells or flour tortillas. A nostalgic craving made convenient!

All of Anyday’s recipes are tested (and retested!) in many different microwaves and home kitchens to make sure they work — and work well. Unless specified otherwise, all recipes should be cooked at full power.


Meat, One Dish Meals, crispy tortillas, Gluten-free, family, family dinner, Family Meals, Ground beef, group__Under 15 Minute Meals, guacamole, Deep Dish, Extra Large Dish, Shallow Dish, Small Dish, salsa, sour cream, taco, taco night, taco Tuesday, tortillas Meat, One Dish Meals

What You’ll Need

What You’ll Need

The Small Dish

This dish’s superpower is evenly heating leftovers and cooking small portions.

The Anyhand Mitts

Handle hot Anyday dishes with care with these microwave mitts that double as trivets!
Try Anyday

Select your serving size and microwave wattage in the dropdown. The recipe will change accordingly.

1-2

Select your microwave wattage in the dropdown. The cook times in this recipe will automatically change accordingly.

[[video-wattage]]

To find your microwave’s wattage, look at the front panel, the side of the door, in the back, in the user manual, or Google the model number. If both an input and output wattage are listed, use the output.

Wattage translates to how powerful the microwave is. The higher the wattage, the faster your food will cook. The lower the wattage, the longer the cook time.

When in doubt, start with less time — you can always add more.

Microwave oven by power - 700w
700w

Recommended 

Dish

The Small Dish

Ingredients

  • 4oz (115g) lean ground beef
  • 2 tablespoons chopped yellow onion
  • 1 tablespoon taco seasoning
  • 1 teaspoon cornstarch
  • 2 tablespoons chicken broth
  • 3-4 taco shells or flour tortillas
  • Shredded Monterey-jack cheese, sliced jalapeños, chopped tomatoes, shredded lettuce, sour cream, for topping (optional)

Preparation

  1. Add the onion, beef, cornstarch, and taco seasoning to the Anyday dish and stir to combine. Drizzle in the stock, making sure it is well incorporated into the meat mixture. This step will help prevent the meat from lumping, creating a crumbly filling for tacos.
  2. Cover with lid (knob lifted). Cook for 2-3 minutes,  or until the meat is almost fully cooked. Stir to break the meat into small crumbles.
  3. Use the meat to fill tortilla shells or flour tortillas and serve with your favorite toppings.

Serving suggestions & tips

  • Add some fire-roasted corn and black beans to the filling for extra texture and flavor.
  • Use the filling as a topping for taco salad.
  • Add chopped jalapeños for a spicy kick.
  • Add some kidney, black, or pinto beans for extra protein.

Recipe notes

  • Freeze the taco filling in Anytime Freezer Trays and reheat as needed.
  • Make it vegetarian by opting for your favorite plant-based protein and vegetable stock.
  • Microwave ovens vary, even with the same wattages. Adjust cooking times as needed.

All You Need to Know About Making Taco Filling in the Microwave

What is old school taco filling?

Old school taco filling refers to the classic American, traditional mixture used to fill tacos, typically made with ground beef. This filling is often seasoned with a blend of spices such as cumin, chili powder, garlic, and onion or simply by using taco seasoning. The ground beef is cooked with a bit of water or stock and sometimes thickened with a little cornstarch to create a rich, flavorful, and slightly saucy texture. This filling is reminiscent of the simple, nostalgic tacos that many people remember from their childhoods, offering a familiar and comforting taste.

Why do I need to add stock or water to this recipe?

Adding water to ground beef helps prevent the meat from clumping, ensures even cooking, and distributes seasonings uniformly, resulting in a tender and flavorful taco filling.

Can I use a different type of meat for this recipe?

Yes, you can substitute lean ground beef with other ground meats like chicken, turkey, or pork. Adjust the cooking time accordingly to ensure that the meat is fully cooked.

Is it possible to make this taco filling vegetarian?

Absolutely! You can replace the ground beef with a plant-based meat substitute or even use cooked lentils. Just make sure to adjust the seasonings as needed to complement the substitute if needed.

Can I prepare the taco filling ahead of time?

Yes, this taco filling can be cooked ahead of time and stored in the refrigerator for up to 4 days. Reheat it in the microwave before serving.

How can I make this recipe spicier?

To add more heat to the taco filling, increase the amount of sliced jalapeños or add a few dashes of your favorite hot sauce, cayenne, or chili powder to the meat mixture before cooking.

How do I prevent the taco meat from drying out when reheating?

When reheating the taco meat, add a splash of chicken broth or water before microwaving to help keep it moist. Make sure to reheat in an Anyday dish with the lid on (knob lifted) to maintain as much moisture.

Can I freeze the cooked taco filling?

Yes, the cooked taco filling freezes well. Store the cooked taco filling in the Anytime Freezer Trays and freeze for up to 2 months. Thaw in the refrigerator overnight before reheating or simply add the frozen pucks into an Anyday dish and reheat for about 1 minute per puck or until heated through.