LIMITED TIME: Get a FREE cookbooklet with orders $100+!

Mini Pumpkin Pies

Select your serving size and microwave wattage in the dropdown. The recipe will change accordingly.

4
  • 4
  • 8

Select your microwave wattage in the dropdown. The cook times in this recipe will automatically change accordingly.

[[video-wattage]]

To find your microwave’s wattage, look at the front panel, the side of the door, in the back, in the user manual, or Google the model number. If both an input and output wattage are listed, use the output.

Wattage translates to how powerful the microwave is. The higher the wattage, the faster your food will cook. The lower the wattage, the longer the cook time.

When in doubt, start with less time — you can always add more.

Microwave oven by power - 700w
700w
  • 700w
  • 800w
  • 900w
  • 1000w
  • 1100w
  • 1200w

Recommended 

Dish

½-Cup Anytime Freezer Tray

Ingredients

  • 2 tablespoons unsalted butter, melted
  • ½ cup (40g) graham cracker crumbs
  • ¾ cup (175g) canned pumpkin puree (Libby’s 100% Pure Pumpkin)
  • ½ cup (120ml) heavy cream
  • ½ cup (80g) brown sugar
  • 2 tablespoons cornstarch
  • ¼ teaspoon kosher salt
  • ½ teaspoon vanilla extract
  • ½ teaspoon pumpkin spice
  • ¼ teaspoon ginger powder
  • Whipped cream, for serving (if desired)
  • Toasted Pumpkin seeds, for serving (if desired)

Preparation

  1. Make the crust: Combine melted butter and the graham cracker crumbs and mix well. Evenly distribute the crust mixture (about 3 tablespoons) into each cup of the 1/2 Cup Anytime Freezer Trays and press to form the crust.
  2. Make the filling: In a separate bowl, whisk the pumpkin purée, heavy cream, brown sugar, cornstarch, salt, vanilla, pumpkin spice, and ginger until the mixture is smooth and creamy. Divide the mixture into each cavity of the Freezer Trays and smooth out the top.
  3. Cook in the microwave uncovered at Power Level 5

    Certain foods cook best in the microwave at lower power levels. 

    [[video-power]]

    Different microwaves have different settings. See your microwave manual (or look it up online) to learn how to change your microwave’s power level.

    For many microwaves: enter the cook time, press the “Power” (or “Power Level”) button, and select a number between 1-10. Other microwaves may require selecting the Power Level first, and then entering the cook time.

    Microwaves list power levels in different ways. Here’s a guide to help you adjust:

    PL 10 = 100% = High (default)

    PL 9 = 90% = High

    PL 8 = 80% = Med-High

    PL 7 = 70% = Med-High

    PL 6 = 60% = Medium

    PL 5 = 50% = Medium

    PL 4 = 40% = Med-Low

    PL 3 = 30% = Med-Low

    PL 2 = 20% = Low

    PL 1 = 10% = Low

    You will know if the power level has been successfully changed if you hear periodic changes in the microwave’s tone after it begins cooking.

    for 5:30-6 minutes per tray, or until the batter puffs slightly on the side and gently jiggles when gently shaken.
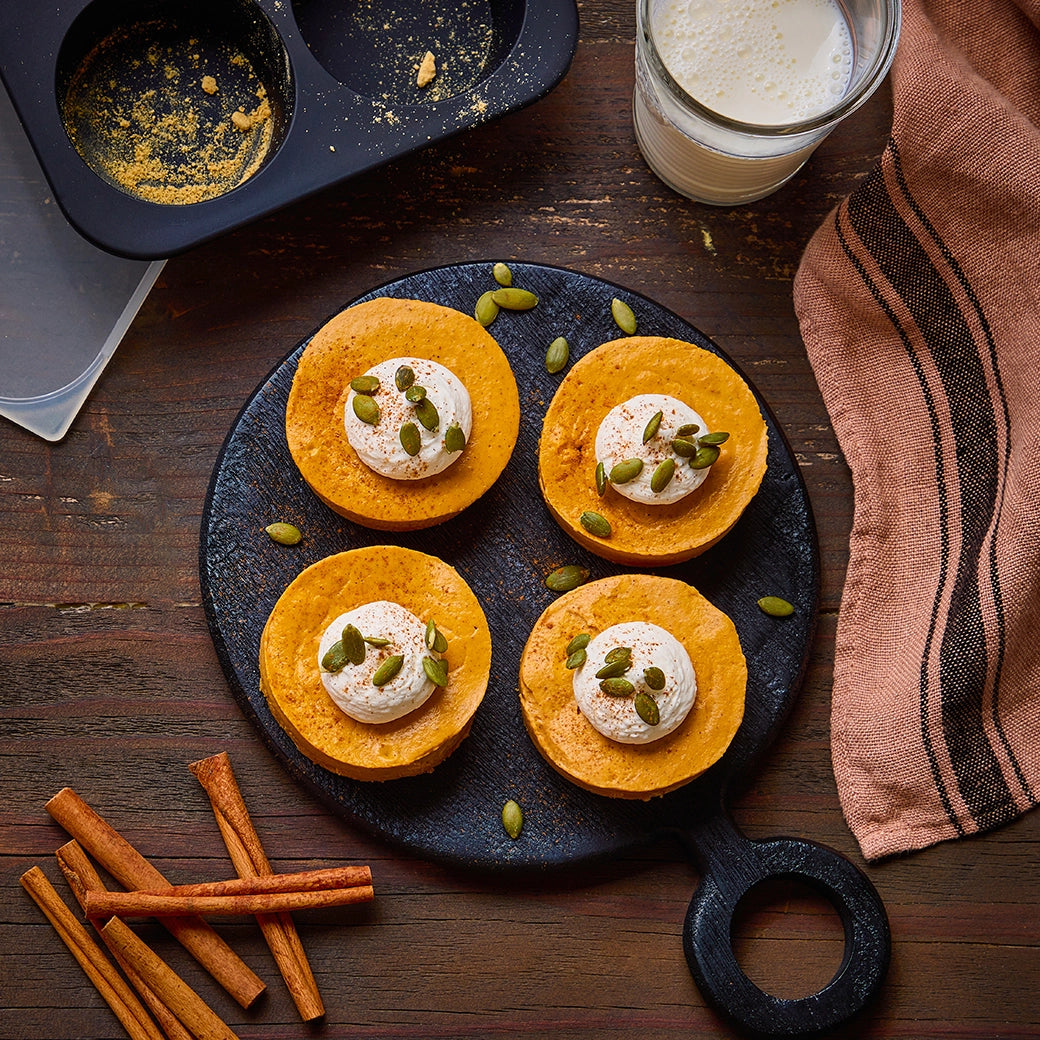
  4. Cool completely in the fridge, for about 1 hour. Serve with whipped cream and garnish with pumpkin seeds, if desired. Note: carefully run a knife or spatula around the sides and push the tray portion carefully to remove the pies. Partially freezing them can make this process easier. 

Suggestions

  • Decadent chocolate twist: Mix dark chocolate chips into the filling for a rich, indulgent touch.
  • Whipped cream & crunch: Top each mini pie with a dollop of whipped cream and a sprinkle of toasted pumpkin seeds for added texture.
  • Candied nut topping: Swap pumpkin seeds for candied nuts to add a sweet, crunchy finish that complements the pumpkin filling.
  • Cream cheese frosting swirl: Add a swirl of cream cheese frosting on top for a rich, tangy contrast to the warm spices.

Recipe Notes

  • Organic or homemade pumpkin puree will likely contain more moisture and may prevent the filling from setting up.
  • You can use any cookie crumbs (gingerbread, shortbread, chocolate, etc) for the crust.
  • Microwave ovens vary, even with the same wattages. Adjust cooking times as needed.

All You Need to Know About Making Mini Pumpkin Pies in the Microwave

What are mini pumpkin pies?

Mini pumpkin pies are a smaller version of the traditional slice-and-serve favorite. These individual treats are perfect for a festive gathering, or whenever the craving strikes. We start by pressing a graham cracker crust into the  bottom of a 1/2 cup silicone Anytime Freezer Trays. Top the crust with a spiced pumpkin filling and microwave to set. Cover with the lid and transfer to the fridge to chill until you're ready to serve.Check out our recipe for full-size pumpkin pie here.

Can I make mini pumpkin pies in the microwave?

Yes, you can make these mini pumpkin pies in the microwave!  Cooked at a lower power level, the filling sets in about 5 minutes. This microwave method offers a convenient, time-saving alternative to traditional baking, allowing you to whip up delicious pies without an oven or too much  time.

How long can I store mini pumpkin pies in the fridge?

Mini pumpkin pies can be stored in the fridge for up to 3 days in the Anytime Freezer Tray. Once they’ve cooled completely, cover them with the lid to keep them fresh until you’re ready to serve.

Can I freeze mini pumpkin pies?

Yes, you can freeze mini pumpkin pies for up to 1 month using the Anytime Freezer Trays. The tray’s lid helps prevent freezer burn, so your pies stay fresh and ready to serve whenever you need them.

What’s the best way to reheat mini pumpkin pies?

These mini pumpkin pies are best served cold, straight from the fridge. However, if you prefer them slightly warm, microwave each portion in an Anyday dish for about 15-20 seconds on low power until warm.

Can I use homemade or organic pumpkin puree for mini pumpkin pies?

Yes, you can use homemade or canned organic pumpkin puree for this recipe! However, because homemade and canned organic purees often contain more moisture, it’s essential to remove the excess liquid. To do this, place the puree in a colander lined with cheesecloth and let it drain overnight in the fridge. This step helps ensure the filling sets up properly, giving you the perfect texture for your mini pies.
What Customers Are Saying